DIY Installation Guide: Installing Ventilation Louvres for Optimal Performance
Ventilation louvres are essential components for maintaining optimal air circulation in a variety of spaces. Whether you're outfitting a residential, commercial, or industrial area, proper installation ensures maximum performance and efficiency. This DIY guide will walk you through the installation process, ensuring your louvres are set up correctly.
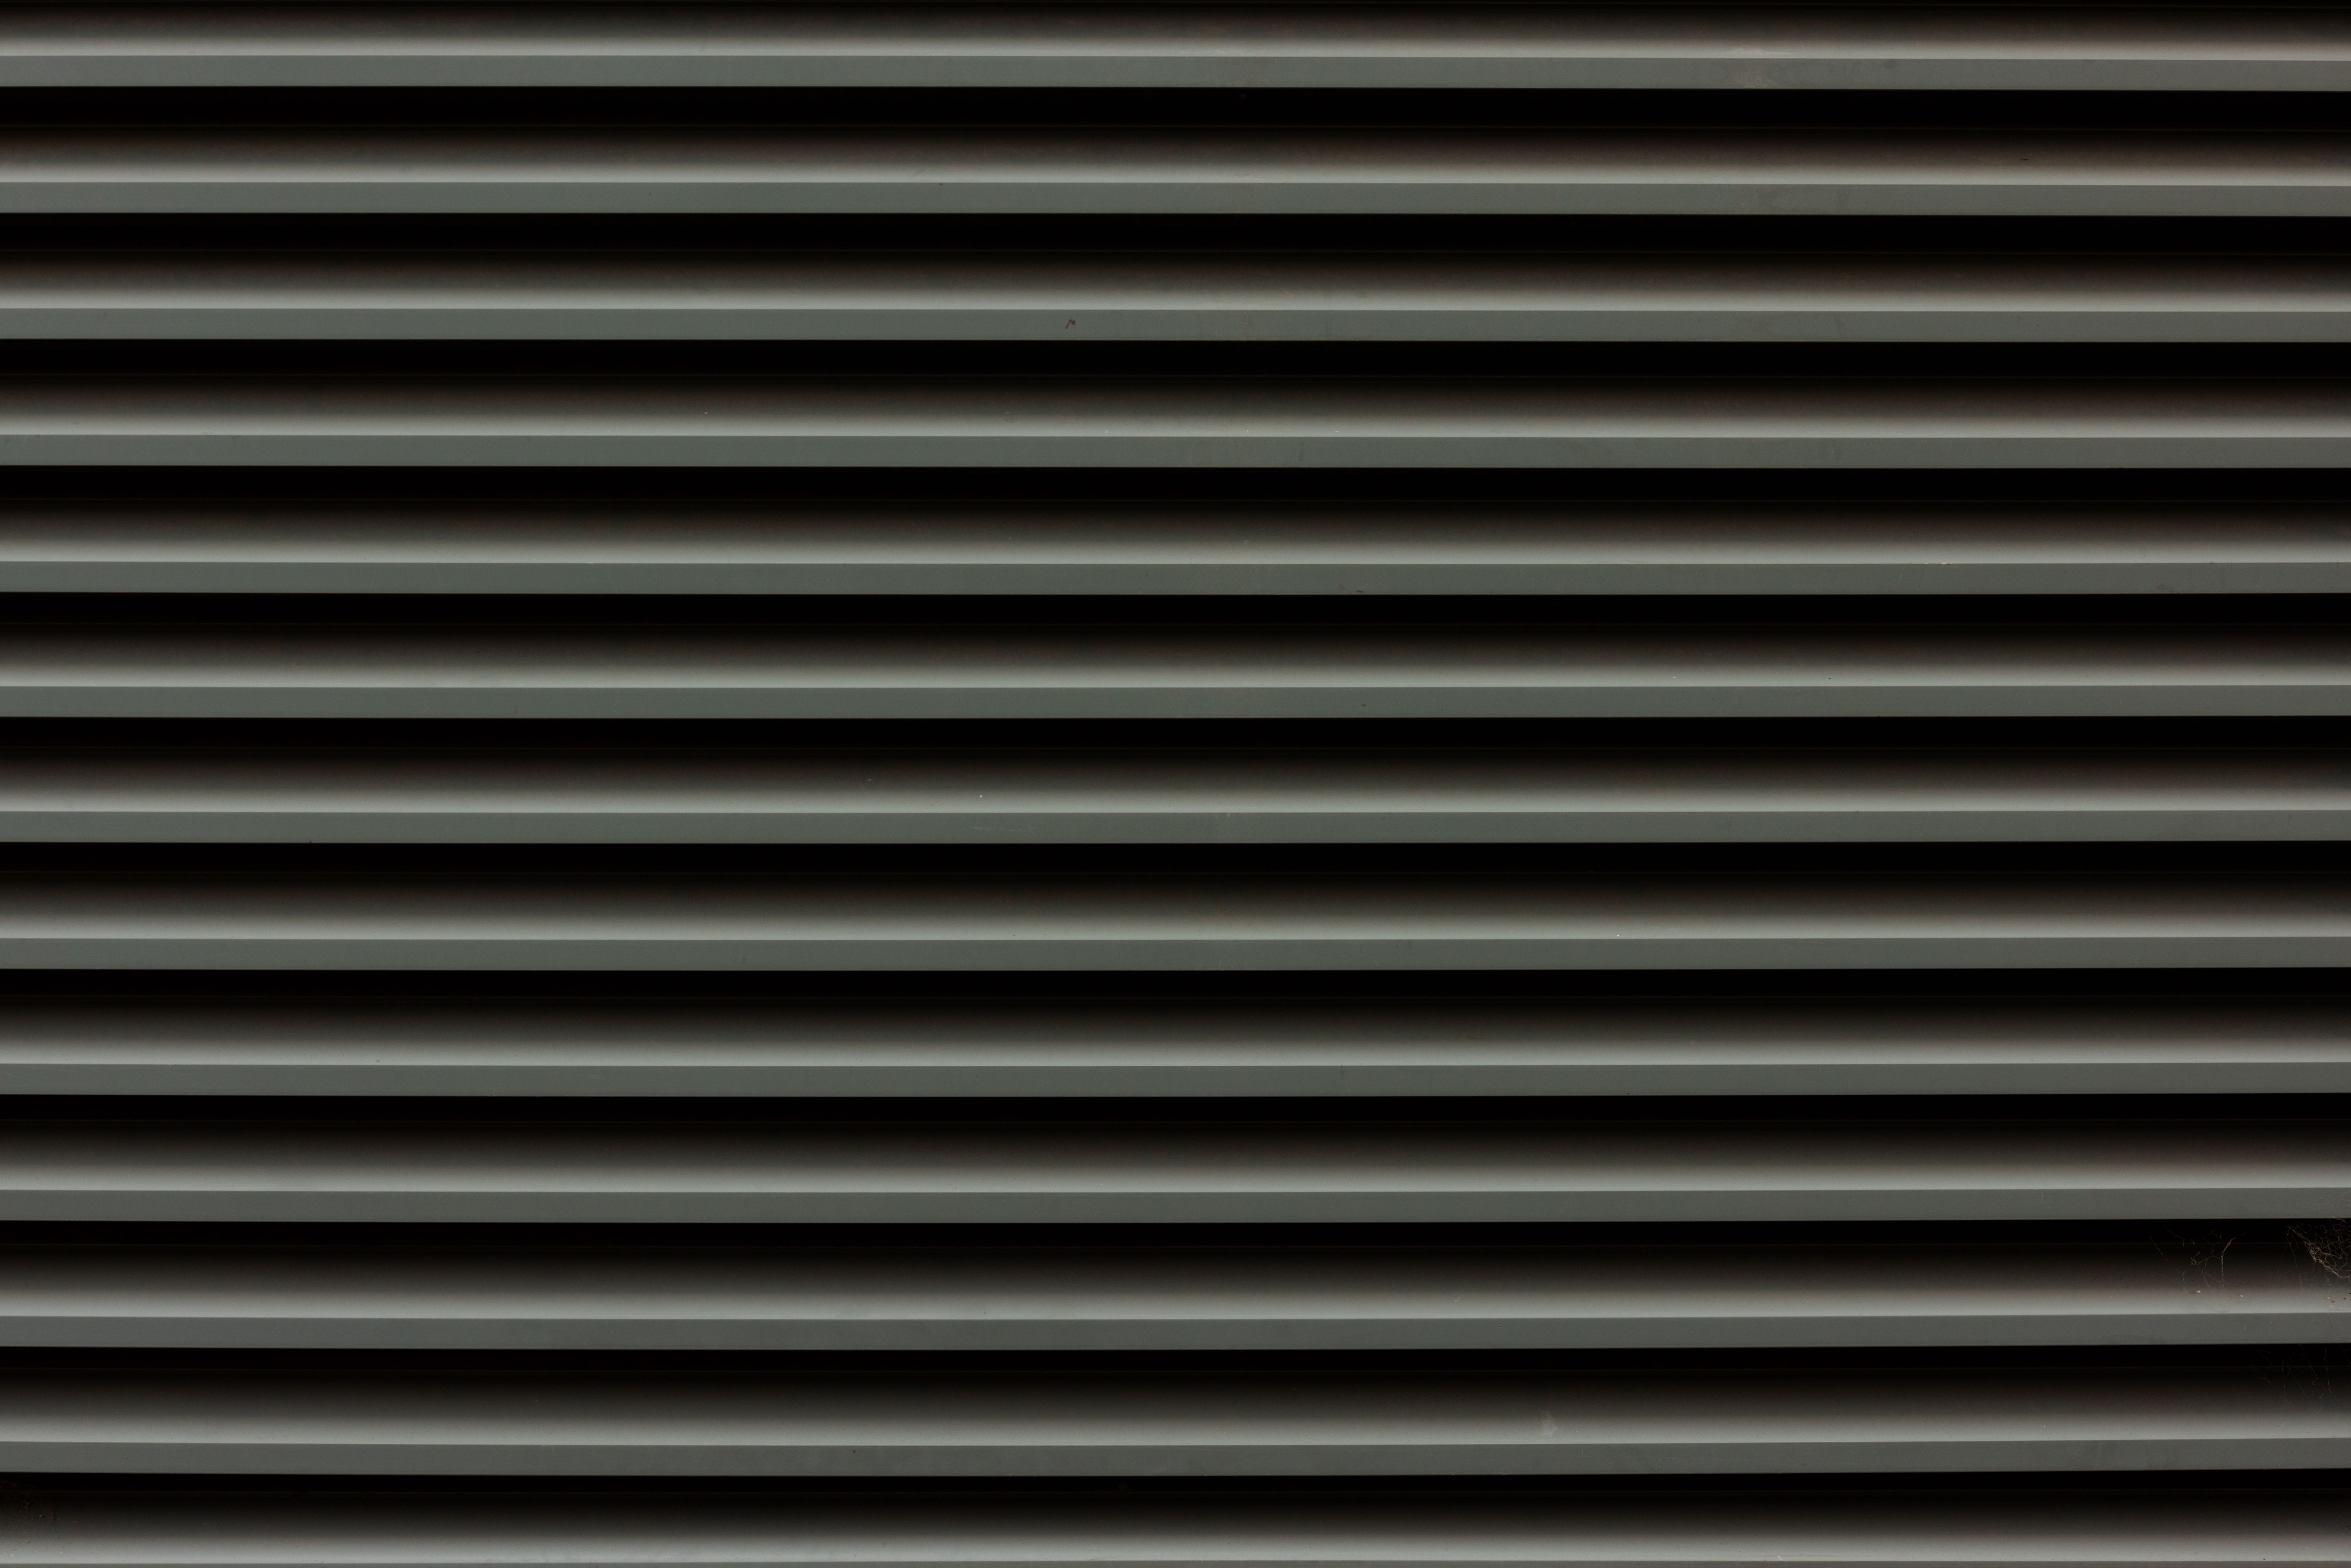
Understanding Ventilation Louvres
Before diving into the installation, it’s crucial to understand the function of ventilation louvres. These devices are designed to allow air to flow in and out while preventing water, debris, and pests from entering the space. They play a critical role in maintaining air quality and regulating temperature.
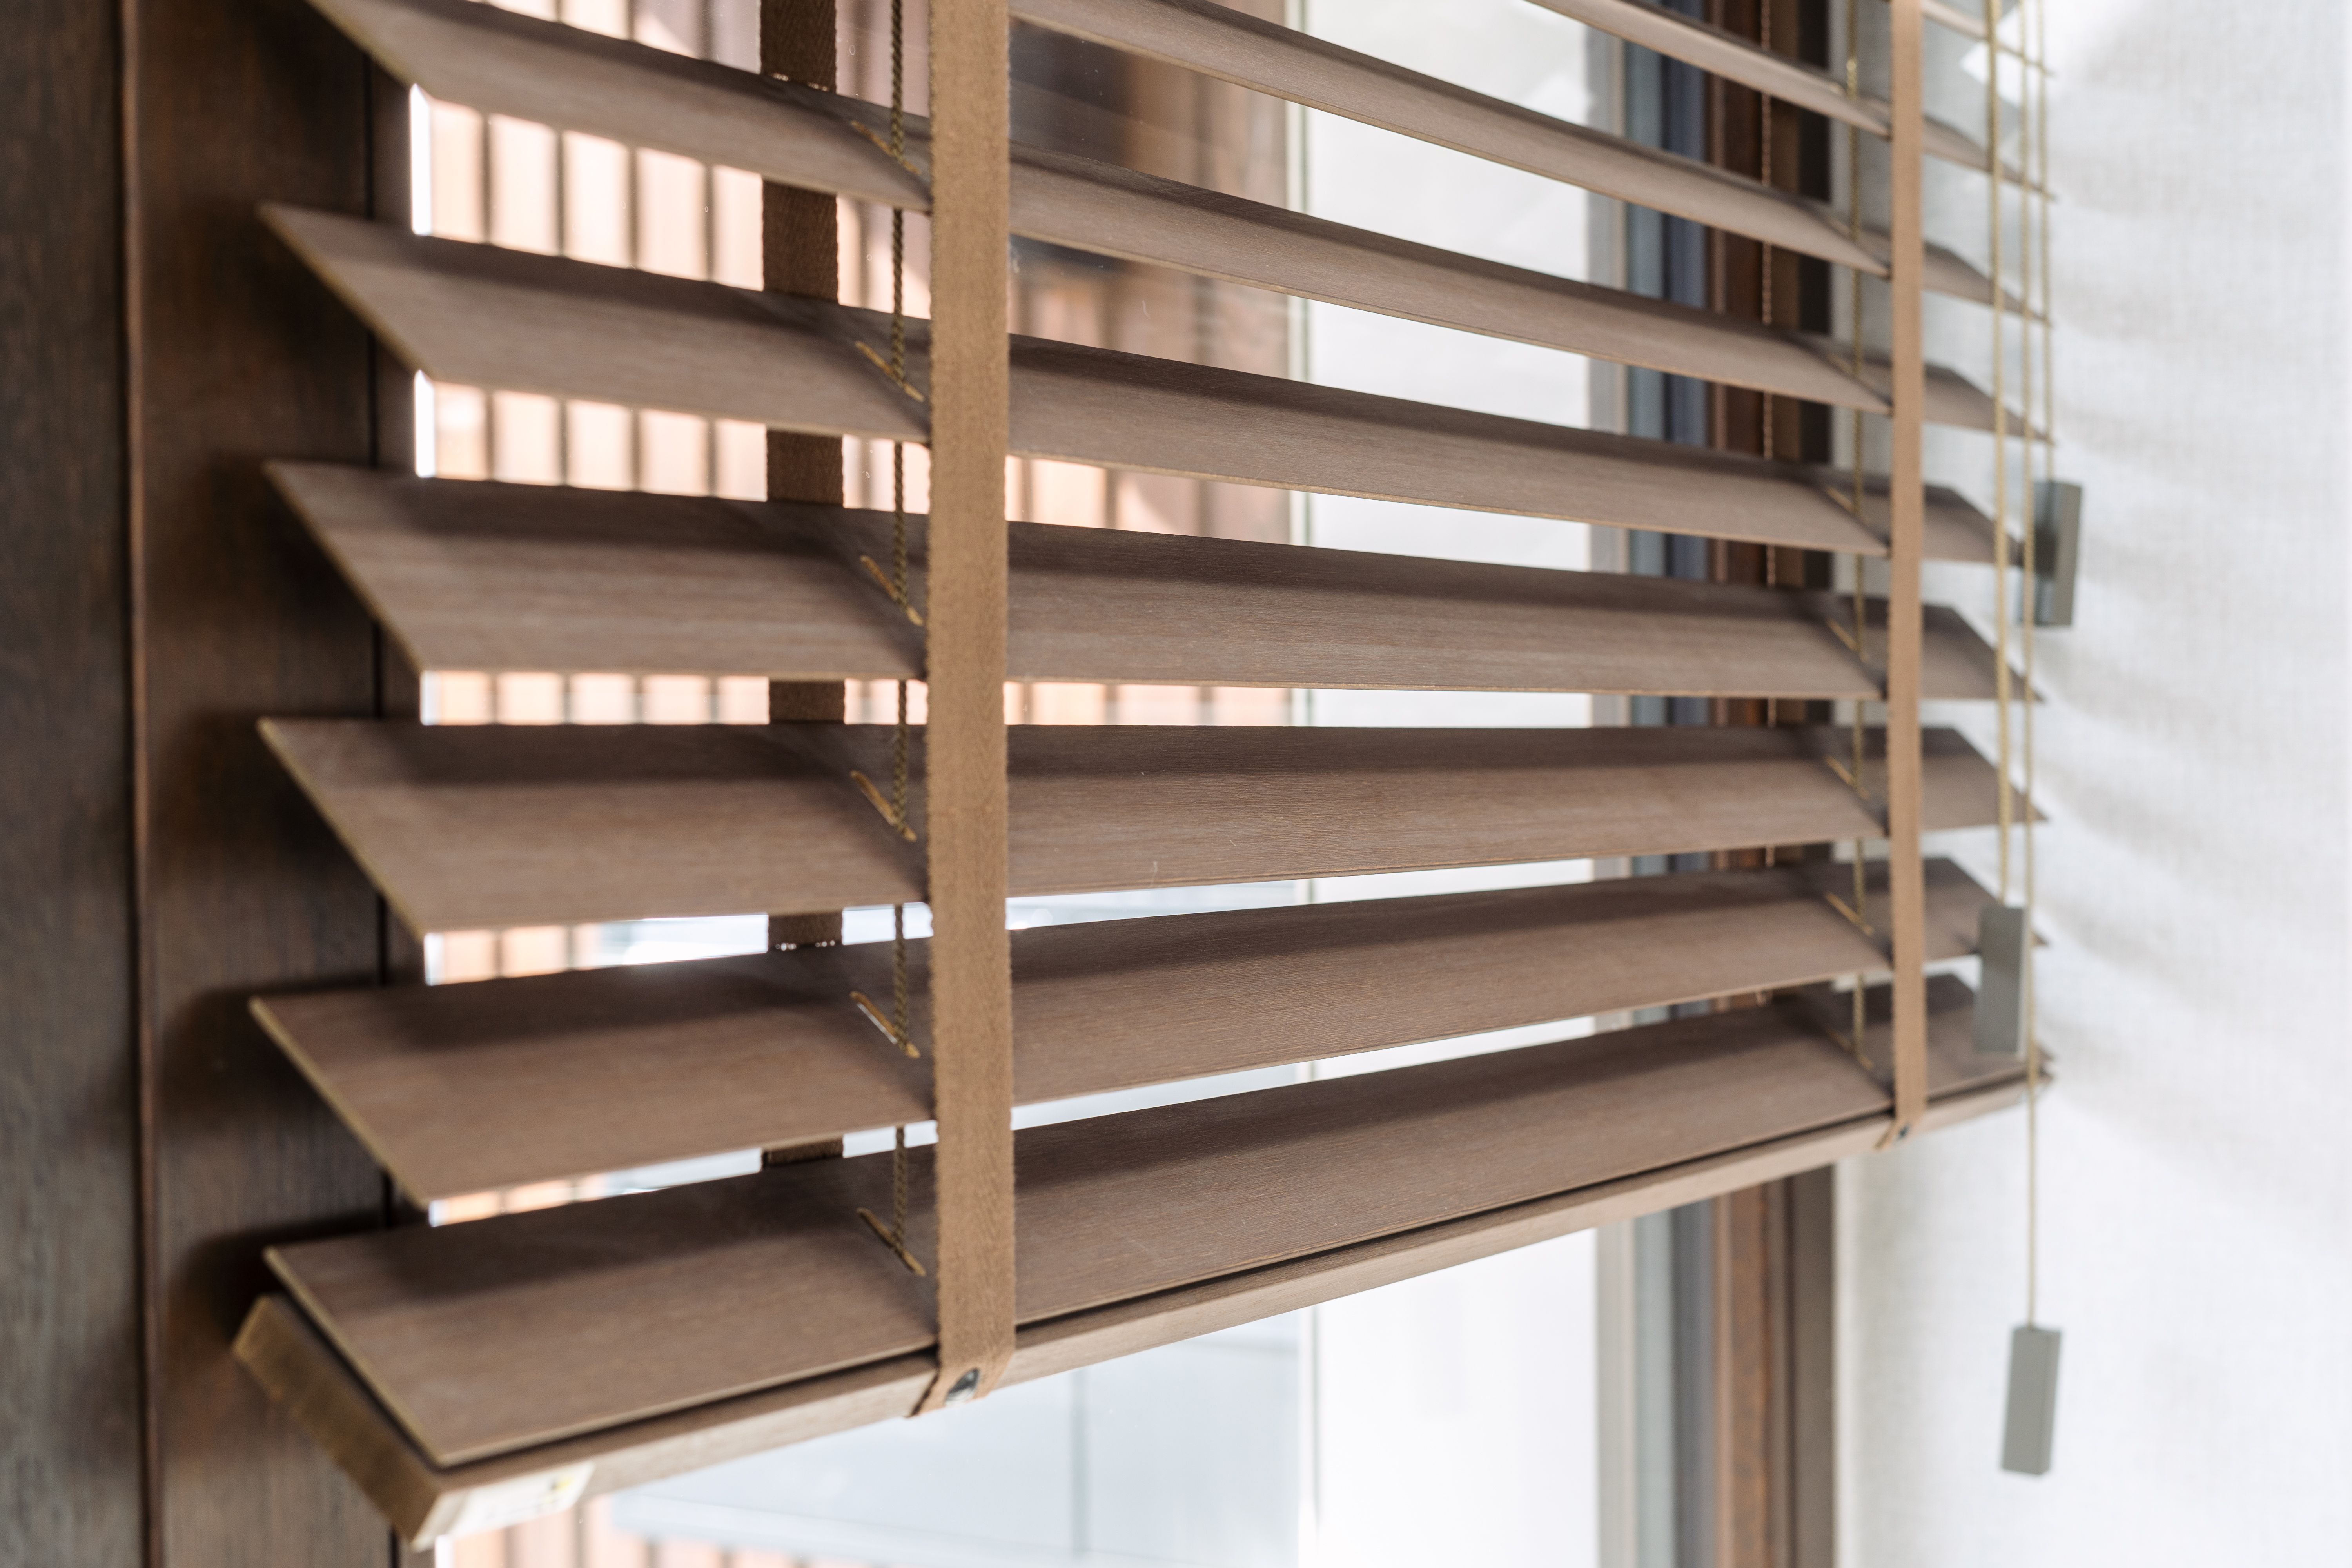
Ventilation louvres come in various materials, including aluminum, steel, and plastic. The choice of material often depends on the location and specific needs of your space. Consider factors like weather conditions and aesthetic preferences when selecting the right louvre for your project.
Preparing for Installation
Proper preparation is key to a successful installation. Start by gathering the necessary tools and materials, such as screws, a drill, a level, and a measuring tape. Ensuring you have everything you need on hand will save time and prevent interruptions during the installation process.
- Measure the installation area to determine the correct size of louvre needed.
- Check the louvre for any damage or defects before installation.
- Read the manufacturer's instructions for any specific installation requirements.
Step-by-Step Installation Guide
Once you’ve prepared, follow these steps to install your ventilation louvre:
- Mark the Installation Area: Use a pencil and level to mark where the louvre will be installed. Ensure the marks are straight and even.
- Drill Pilot Holes: Using a drill, create pilot holes for the screws. This will make the installation easier and help prevent the material from splitting.
- Position the Louvre: Place the louvre against the wall, aligning it with the marks you’ve made. Double-check to ensure it is level.
- Screw in the Louvre: Secure the louvre with screws, making sure it is firmly attached. Tighten each screw evenly to avoid warping the frame.
Post-Installation Checks
After installation, it’s important to conduct a few checks to ensure everything is functioning properly. First, inspect the louvre from both the inside and outside to confirm it is securely fitted. Look for any gaps or misalignments that could affect performance.
Test the airflow by observing how well air passes through the louvre. You may also want to check for any signs of moisture or leaks. If any issues are detected, address them immediately to maintain optimal performance.
Maintaining Your Ventilation Louvres
Regular maintenance is essential for keeping your louvres in good condition. Clean them periodically to remove dust and debris that can accumulate over time. Depending on the environment, this may need to be done more frequently.
- Use a soft brush or cloth to clean the louvre surfaces.
- Inspect the louvres for damage and replace any broken parts as needed.
- Lubricate moving parts if applicable to ensure smooth operation.
By following this guide, you can confidently install and maintain your ventilation louvres, ensuring they provide efficient airflow and protection for years to come. Remember, proper installation and regular maintenance are the keys to optimal performance.